Mastering Night Photography: From Stars to City Lights
When the sun sets and darkness falls, most photographers pack up their gear and head home. But for those willing to embrace the night, a whole new world of photographic opportunities emerges. Night photography challenges us to see differently, work with limited light, and capture scenes that are invisible to the naked eye. From the vast expanse of the Milky Way to the vibrant energy of city lights, mastering night photography opens up endless creative possibilities.
The Magic of Night Photography
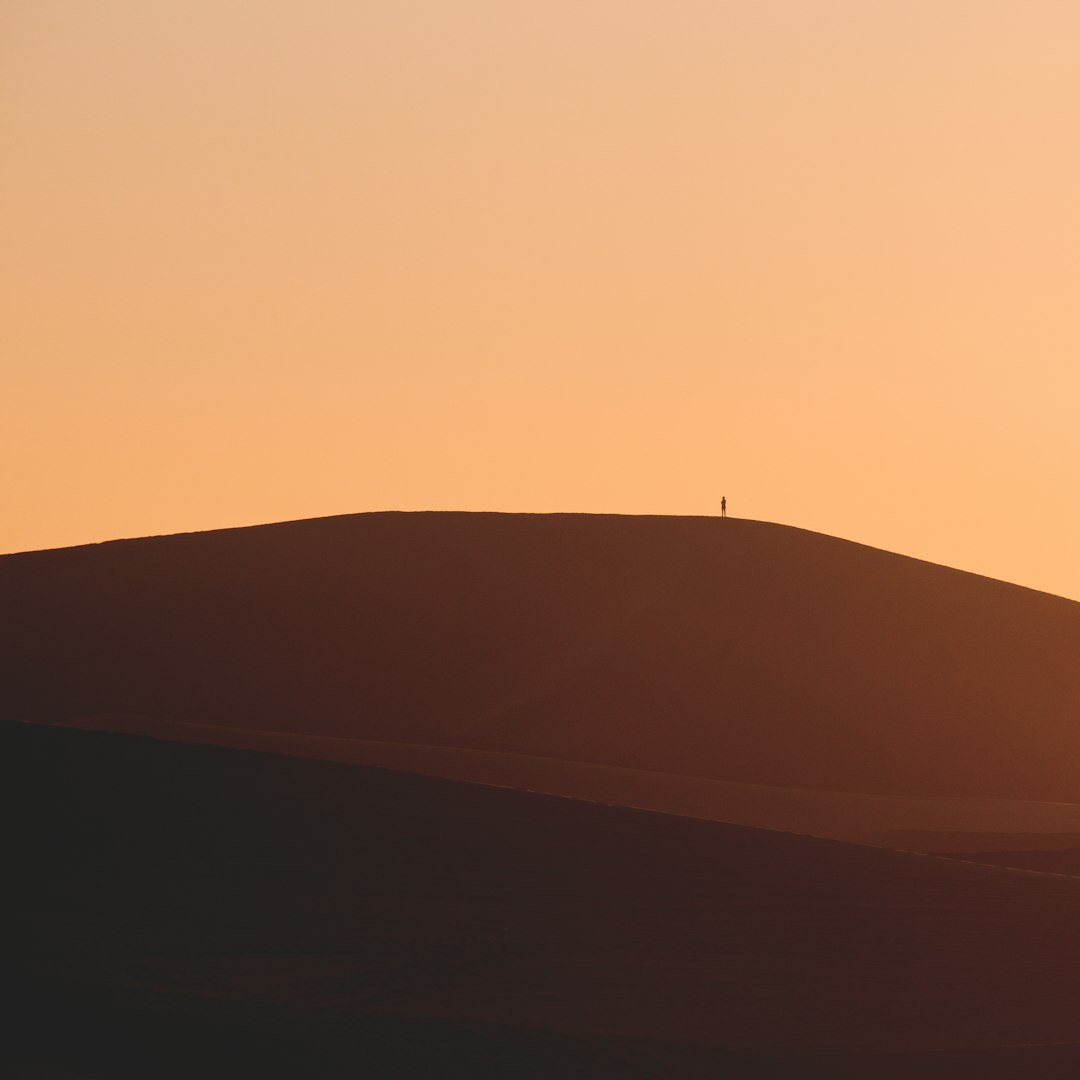
Night photography transforms ordinary scenes into extraordinary images. What might be mundane during daylight hours becomes mysterious, dramatic, and full of atmosphere after dark. The absence of daylight forces us to focus on different elements—artificial light sources, silhouettes, and long exposures that capture the passage of time.
Why Shoot at Night?
Night photography offers unique rewards that daytime shooting simply can't match:
- Dramatic contrast: The interplay between darkness and light creates powerful visual tension
- Unique perspectives: Familiar places look completely different at night
- Minimal crowds: Popular locations are often deserted, allowing for unobstructed shots
- Creative expression: Long exposures and light painting techniques open up new creative avenues
- Capturing the unseen: Stars, meteors, and other celestial phenomena become visible
Challenges to Overcome
Night photography comes with its own set of challenges that require specific knowledge and techniques:
- Limited light: Working in near-darkness requires special exposure considerations
- Focus difficulties: Autofocus systems struggle in low light
- Noise: Higher ISO settings can introduce digital noise
- White balance: Mixed light sources create complex color casts
- Long exposure times: Requires stability and patience
Essential Gear for Night Photography
Camera Considerations
While you can shoot night images with almost any camera, certain features make the process significantly easier and yield better results:
- Full-frame sensors: Generally perform better in low light with less noise
- Manual controls: Essential for adjusting exposure settings
- Bulb mode: Allows for exposures longer than 30 seconds
- Live view with exposure simulation: Helps preview your final image
- Intervalometer: Built-in or external for timed exposures
Lenses for Night Photography
The right lens can make a significant difference in your night photography results:
- Fast wide-angle lenses: Ideal for astrophotography (f/2.8 or wider, 14-24mm range)
- Prime lenses: Generally sharper and faster than zooms
- Image stabilization: Helpful for handheld night shots
- Manual focus capability: Essential for precise focus in darkness
Support and Stability
Long exposures demand absolute stability to prevent camera shake:
- Sturdy tripod: Non-negotiable for most night photography
- Remote shutter release: Eliminates camera shake from pressing the shutter button
- Tripod head: Ball heads offer flexibility; geared heads provide precision
- Ground spikes: For stability in windy conditions
Camera Settings for Night Photography
Night photography requires a different approach to camera settings than daytime shooting. Here's how to configure your camera for optimal results:
Exposure Triangle at Night
The exposure triangle (aperture, shutter speed, and ISO) works differently at night:
- Aperture: Generally shoot wide open (lowest f-number) to capture maximum light, but stop down slightly if you need more depth of field or sharper corners
- Shutter speed: Will be much longer than daytime shots, from several seconds to several minutes or even hours
- ISO: Start low (400-800) and increase only as needed, balancing noise levels with exposure requirements
Focusing in the Dark
Achieving sharp focus is one of the biggest challenges in night photography:
- Manual focus: Your best option in most night situations
- Live view zoom: Magnify your live view to focus on a bright point or edge
- Focus peaking: If your camera has this feature, use it to identify sharp edges
- Hyperfocal distance: For landscape shots, calculate and set the hyperfocal distance for maximum depth of field
- Tape your focus ring: Once focused, use gaffer tape to prevent accidentally changing focus
White Balance Challenges
Mixed light sources at night create complex white balance scenarios:
- Shoot in RAW: Essential for adjusting white balance in post-processing
- Custom white balance: Use a gray card or expodisc for accurate color
- Embrace color casts: Sometimes mixed lighting can create interesting effects
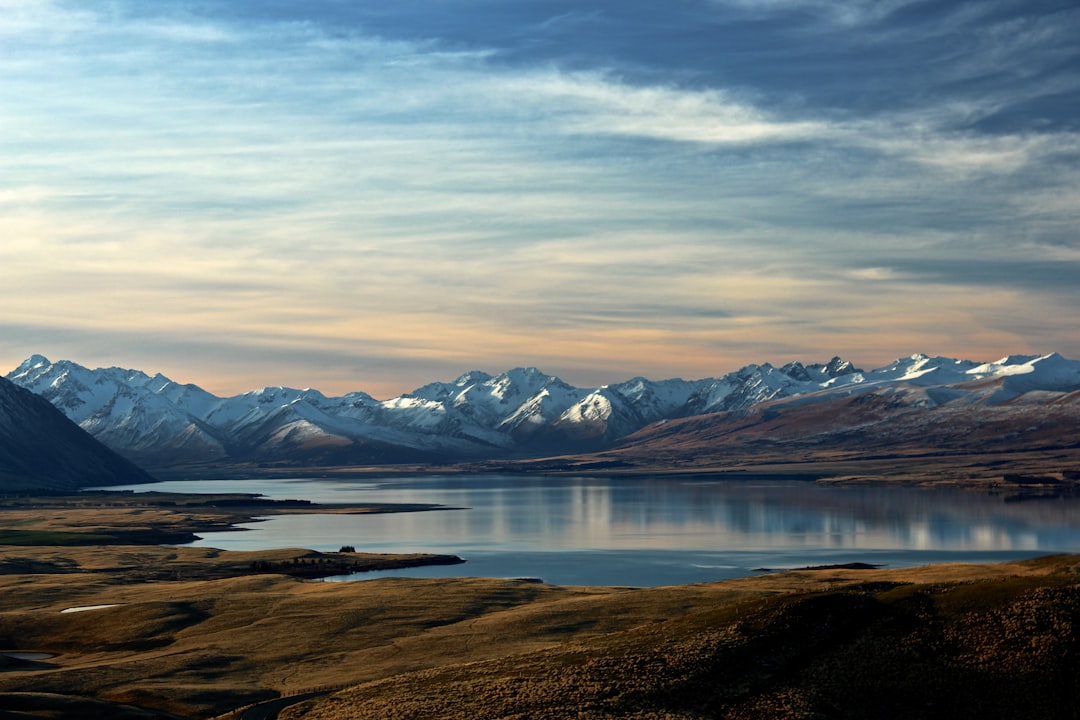
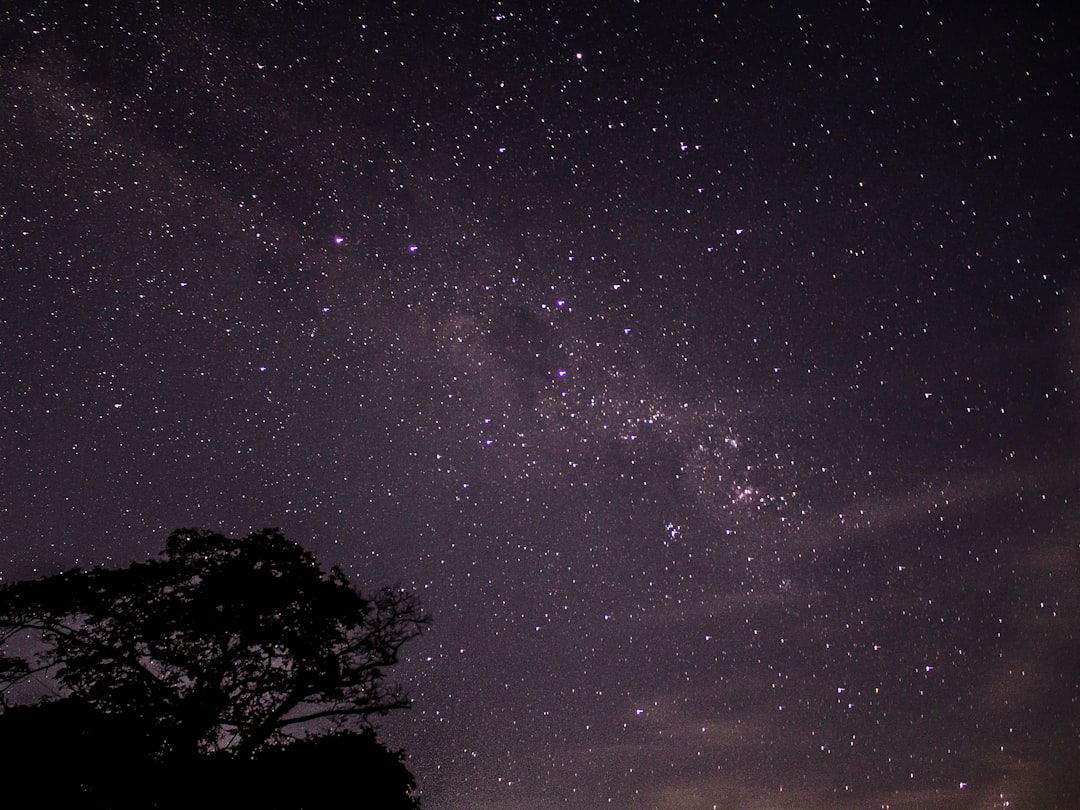
Astrophotography: Capturing the Night Sky
Photographing Stars and the Milky Way
One of the most rewarding aspects of night photography is capturing the beauty of the night sky:
- Location scouting: Find areas with minimal light pollution, using apps like Dark Sky Finder
- Timing: Check moon phases and Milky Way visibility times using apps like PhotoPills
- The 500 Rule: To avoid star trails, use the formula: 500 ÷ focal length = maximum shutter speed in seconds
- Stacking: Combine multiple exposures to reduce noise and increase detail
Star Trails and Time-Lapse
Creating images of star trails requires a different approach than static star photos:
- Long single exposure: 30 minutes to several hours at low ISO
- Multiple exposure stacking: Take many shorter exposures and combine in post-processing
- Intervalometer settings: For time-lapse sequences, determine appropriate intervals between shots
- Power management: Ensure adequate battery power for extended shooting sessions
Photographing Meteor Showers and Lunar Events
Celestial events offer unique night photography opportunities:
- Research and planning: Know when and where events will occur
- Wider framing: Allow more space in your composition to capture unpredictable events
- Continuous shooting: Use burst mode to increase chances of capturing meteors
- Exposure bracketing: For lunar events, bracket exposures to capture detail in both bright and dark areas
Light Painting: Creating with Light
Light painting is a creative technique where you add light to a scene during a long exposure:
Light Painting Tools
A variety of light sources can be used for light painting:
- LED flashlights: Versatile and available in different colors and intensities
- Light wands and tubes: Create smooth lines and shapes
- Steel wool: Creates dramatic sparks (requires safety precautions)
- EL wire and neon: Provides consistent colored light
- Flash and strobes: For freezing specific elements in a long exposure
Light Painting Techniques
Different approaches to light painting yield different results:
- Illuminating the scene: Use a flashlight to "paint" light onto your subject
- Drawing with light: Move the light source to create shapes and patterns visible to the camera
- Kinetic light painting: Move the camera during exposure while keeping the light source stationary
- Projection: Use projectors to add patterns or images to your scene
Light Painting Tips
Master these techniques for better light painting results:
- Wear dark clothing: Minimize your visibility in the final image
- Practice your movements: Smooth, deliberate motions create cleaner lines
- Test different exposures: Light painting requires experimentation
- Consider light temperature: Different light sources have different color temperatures that affect the mood
Quote from the Future
"By 2035, night photography will transcend current limitations through quantum sensors that capture photons with unprecedented efficiency. We'll photograph star formations in real-time and create light paintings with programmable nanobots that respond to our thoughts, making the invisible visible and the impossible routine." — Dr. Elena Rodriguez, Quantum Imaging Research Center, 2032
Urban Nightscapes: Capturing City Lights
Blue Hour Photography
The blue hour, just after sunset or before sunrise, offers beautiful light for city photography:
- Timing: Typically 20-40 minutes after sunset or before sunrise
- Exposure balance: Capture both ambient light and city lights
- White balance: Cooler settings enhance the blue atmosphere
- Composition: Look for reflections in water or glass buildings
Light Trails and Traffic
Moving vehicles create beautiful light trails in long exposures:
- Exposure time: 15-30 seconds typically works well for light trails
- Aperture: f/8-f/11 creates star effects from point light sources
- Location: Overpasses, bridges, and tall buildings offer good vantage points
- Safety: Always prioritize safety when shooting near traffic
Cityscapes and Architecture
Urban architecture takes on new life at night:
- Find leading lines: Use streets, bridges, and architectural elements
- Look for symmetry: Many buildings look striking when centered
- Include human elements: People add scale and interest to cityscapes
- Shoot from high and low angles: Different perspectives create dramatically different images
Post-Processing Night Images
Night photographs often require specialized post-processing techniques:
- Noise reduction: Use specialized software like Topaz DeNoise or DxO PureRAW
- Exposure blending: Combine multiple exposures for optimal dynamic range
- Color correction: Adjust for mixed lighting and enhance natural colors
- Sharpening: Apply targeted sharpening to key areas while avoiding noise amplification
- Star enhancement: Use techniques like frequency separation to make stars stand out
Night photography is a journey of patience, experimentation, and discovery. The challenges are significant, but the rewards are extraordinary images that reveal the hidden beauty of darkness. With practice and persistence, you'll develop the skills and vision to create stunning night photographs that capture the imagination.

Comments (3)
Michael Torres
March 17, 2024This is the most comprehensive guide to night photography I've ever read! I've been struggling with my astrophotography for months, and your section on the 500 rule and focusing techniques finally helped me get sharp stars. Can't wait to try light painting this weekend!
Sophia Chen Author
March 17, 2024Thank you so much, Michael! I'm thrilled the guide helped you with your astrophotography. Light painting is such a fun and creative technique—definitely start with simple shapes and gradually experiment with more complex designs. Feel free to share your results!
Jennifer Kim
March 19, 2024Great article! I've always been intimidated by night photography, but your breakdown of equipment and settings makes it seem much more approachable. Do you have any recommendations for more budget-friendly gear for someone just starting out?
Robert Williams
March 21, 2024The urban nightscapes section is exactly what I needed! I live in a city and have been trying to capture its beauty at night. Your tips on blue hour photography and light trails have already improved my shots dramatically. Thank you for sharing your expertise!
Leave a Comment